Fixing a leaky faucet is a task that many homeowners may overlook or avoid due to the assumption that it requires professional assistance. However, tackling this issue on your own can save money and provide a sense of accomplishment. The process is straightforward and only requires a few essential tools and basic plumbing knowledge. Before getting started, gather some necessary tools including a wrench, screwdrivers, replacement washers, and possibly a specialty tool specific to your faucet type.
First, it is important to identify the type of faucet you have, as different models have distinct mechanisms. Common types include compression, cartridge, ball, and ceramic disk faucets. Understanding your faucet type will guide your repair process and help in selecting the appropriate replacement parts. Once the type is identified, turn off the water supply to prevent any mess while working on the faucet. Look beneath the sink for the water supply valves and turn them in a clockwise direction until they are fully closed. After shutting off the water, open the faucet to let any remaining water flow out and relieve pressure in the lines.
Next, prepare your workspace. Lay down a towel or cloth to catch any drips and ensure that you have ample light to see the components clearly. If your faucet has decorative caps concealing screws, gently pry them off with a flathead screwdriver. Once exposed, use the appropriate screwdriver or wrench to remove the screws holding the handle in place. Lift the handle off carefully, and set it aside, ensuring that you don’t lose any small components that might fall.
Once the handle is removed, you should see the inner workings of the faucet. This is where you will be able to assess the source of the leak. In compression faucets, the washer is typically the culprit – the rubber washer can wear out over time leading to drips. For cartridge faucets, the cartridge itself may need to be replaced. After identifying the specific issue, remove the affected component by unscrewing it, using a cartridge puller if necessary, or simply pulling it out depending on your faucet type.
If your faucet has a washer, take the old one with you to a hardware store to ensure that you purchase an exact match. If dealing with a cartridge, you may want to bring the old cartridge as well, as finding the correct replacement can be critical, especially for older faucet models. Replace the worn component with the new washer, cartridge, or part, ensuring everything fits snugly and correctly. It is essential to avoid over-tightening, as that could damage the parts or create further leaks.
Once the new parts are in place, it’s time to reassemble the faucet. Begin by placing the handle back onto its stem, aligning it properly with the screw holes. Secure it with the screws, which may need to be tightened firmly but should not be excessively tight. If there were decorative caps, pop them back into place carefully.
Before turning the water supply back on, double-check your work. Ensure that all components are securely in place and that you have not left any tools or parts within the basin of the sink. Once you have confirmed that everything is in order, turn the water supply valves back on by rotating them counter-clockwise. Proceed to slowly turn on the faucet and observe whether the leak persists. Allow the water to run briefly, as any lingering air may cause temporary dripping, but after this, if everything is functioning correctly, you should notice that the leak is resolved.
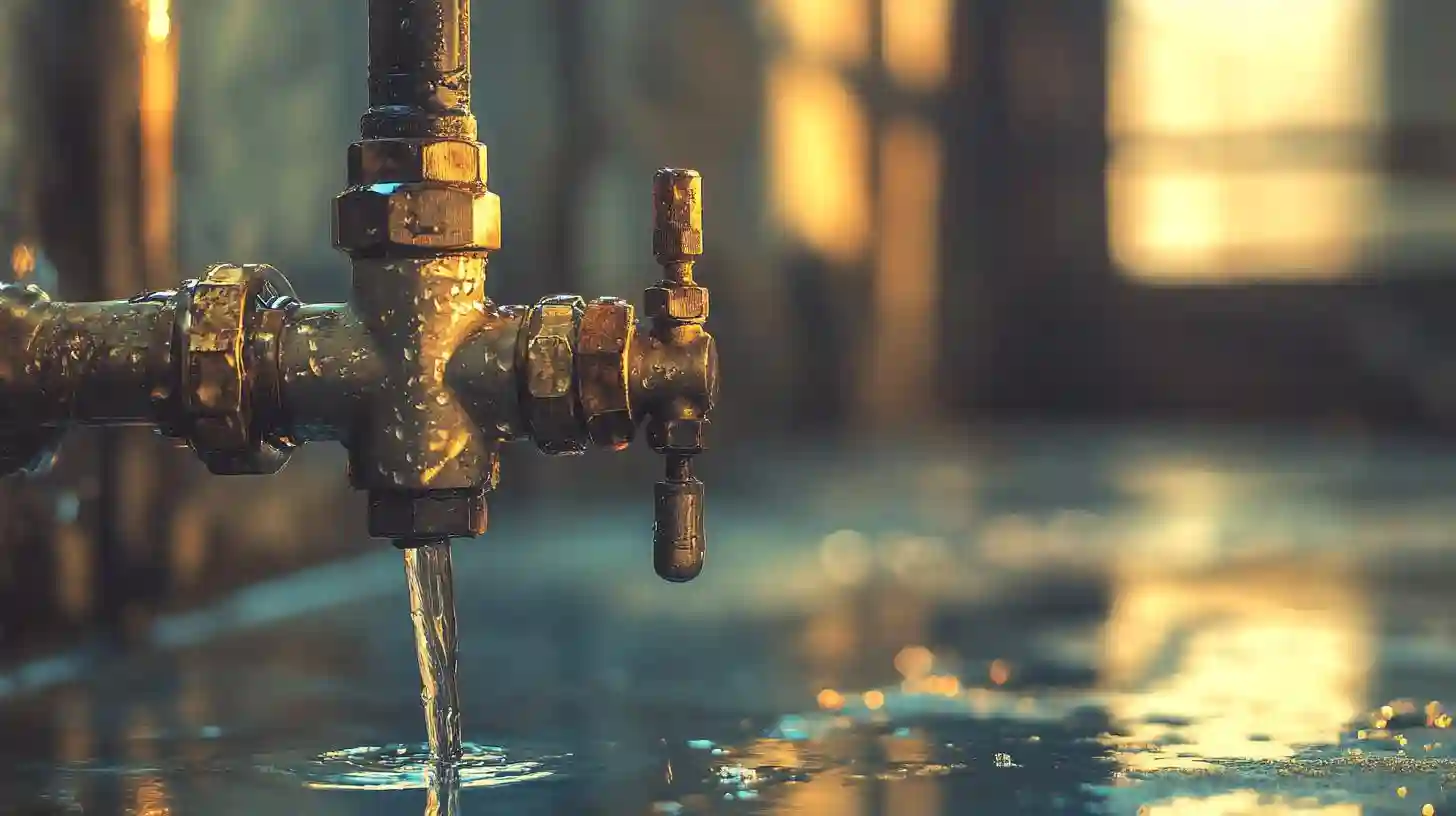
A leaky faucet is not only an annoyance but can also lead to water wastage and potentially higher utility bills. By following this guide and taking the time to learn about your faucet components, you can effectively handle simple plumbing repairs on your own. With a little patience and attention to detail, repairing a leaky faucet can be a straightforward and rewarding project that enhances your home's maintenance skills. Each time you manage a repair without needing a professional, you build confidence in your DIY abilities, making future projects feel more approachable.