 International
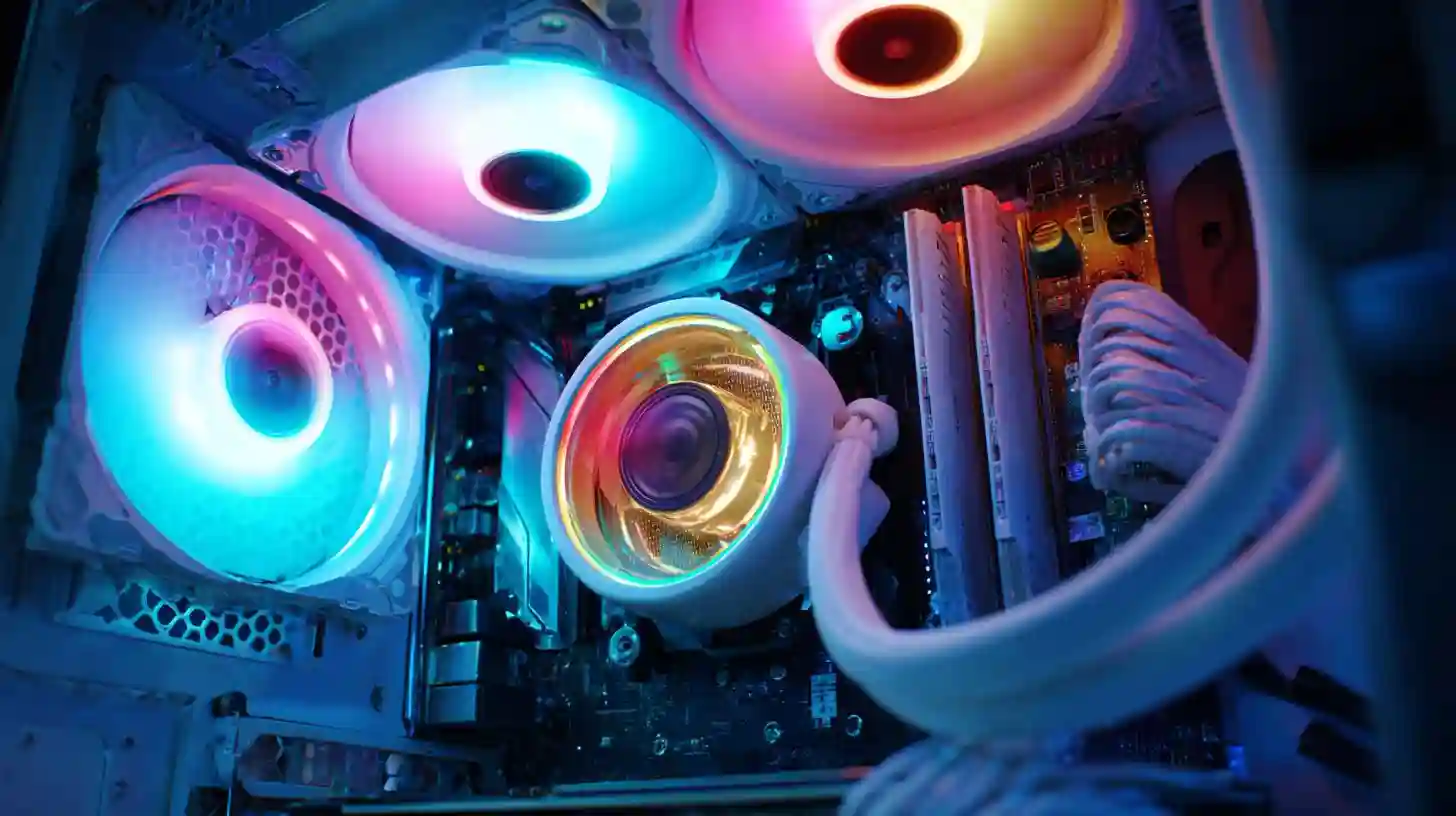
Building a custom PC can be an exciting and rewarding experience, offering you complete control over your hardware choices and ensuring that your system meets your specific needs. Whether you're assembling a machine for gaming, video editing, or general productivity, crafting a personalized PC can enhance your overall computing experience. While the process may seem daunting at first, with the right guidance and a bit of patience, you’ll be able to create a machine that is powerful, efficient, and tailored to your preferences.
The first step in building a custom PC is selecting the right components. This is where you have the most flexibility, but it also requires a clear understanding of your needs. For the central processing unit (CPU), you’ll need to choose a model that suits your intended use. If you’re building a system for gaming or intensive tasks like video rendering, a high-performance processor such as an Intel i9 or an AMD Ryzen 9 will provide you with the processing power you need. For everyday tasks like web browsing, word processing, or casual gaming, a mid-range processor like an Intel i5 or AMD Ryzen 5 will be sufficient.
Once you have your CPU, the next step is to choose the motherboard. It’s important to select a motherboard that is compatible with your processor, as well as any other components you plan to install. There are various motherboard sizes, such as ATX, microATX, and miniATX, so make sure the motherboard fits in the case you’ve chosen. Additionally, the motherboard should offer the features you need, such as multiple PCIe slots for graphics cards and storage devices, sufficient RAM slots, and connectivity options like USB ports and Ethernet.
When it comes to memory, or RAM, the more you have, the better. RAM plays a crucial role in multitasking and ensuring that your system can handle demanding applications smoothly. For gaming and video editing, aim for at least 16GB of RAM, though 32GB or more may be required for more advanced workloads. Additionally, ensure that the memory you choose is compatible with your motherboard and CPU. Opt for high-quality, reputable brands to ensure reliability and performance.
Storage is another critical component of any custom PC. Modern PCs often rely on solid-state drives (SSDs) for faster boot times and application loading. If you’re aiming for a high-speed experience, consider an NVMe SSD, which is faster than a traditional SATA SSD. For large file storage, such as games, videos, and other data-heavy content, you may also want to include a larger hard disk drive (HDD) as secondary storage. When choosing storage, consider the size of your files and how much space you need now and in the future.
The graphics card, or GPU, is one of the most important components if you plan to game or do anything graphics-intensive, such as video editing or 3D rendering. The GPU is responsible for rendering images, videos, and animations, so a powerful card will make a noticeable difference in performance. Nvidia and AMD are the two major players in the GPU market, with options ranging from budget-friendly to top-of-the-line models. For gaming at 1080p or 1440p, a mid-range card like the Nvidia RTX 3060 or AMD Radeon RX 6700 XT should suffice, but for 4K gaming or professional creative work, look for high-end models such as the Nvidia RTX 3080 or AMD Radeon RX 6900 XT.
A reliable power supply unit (PSU) is necessary to provide your system with stable power. Choose a PSU with enough wattage to support all your components, and ensure it has a good efficiency rating, such as 80 Plus Gold or Platinum. A higher wattage PSU will provide room for future upgrades, and it’s always better to have more power than you need than to risk underpowering your system.
The case is not just for aesthetics; it’s essential for airflow and cooling. When selecting a case, make sure it can accommodate all of your components, including your motherboard, GPU, and storage devices. Cases come in a variety of sizes, ranging from compact mini-towers to large full-tower models. You’ll also want to consider airflow, ensuring the case has enough ventilation and space for fans or liquid cooling solutions to prevent your system from overheating.
Cooling is critical to maintaining the longevity and performance of your components. Most CPUs come with stock cooling solutions, but if you’re overclocking or want a quieter system, you may want to invest in aftermarket cooling. There are two primary types: air cooling and liquid cooling. Air cooling uses fans to dissipate heat, while liquid cooling involves a pump and radiator to circulate coolant. Both options are effective, but liquid cooling tends to be more efficient for high-performance systems.
Assembling the PC involves carefully placing each component into the case, making sure everything is properly connected. It’s essential to ground yourself to avoid static damage to the components, so consider using an anti-static wrist strap. Begin by installing the CPU onto the motherboard, then add the RAM, and next the storage devices. The GPU will go into the appropriate PCIe slot on the motherboard, and the PSU will be installed at the bottom of the case, connecting power cables to the motherboard, GPU, and storage. Lastly, install your cooling solution and connect the fans to ensure optimal airflow.
Once the hardware is assembled, you’ll need to install an operating system, such as Windows or Linux, depending on your preference. Make sure you have a bootable USB drive or installation media ready before powering on the system. After the operating system is installed, you’ll need to install drivers for your motherboard, GPU, and other peripherals to ensure everything functions properly.
Finally, to optimize your system, it’s important to keep your drivers up to date and monitor your system’s performance. Use software to keep track of your CPU and GPU temperatures to ensure they’re running within safe limits. You may also want to overclock your components to boost performance, but be sure to monitor temperatures and stability to avoid damaging your hardware.
Building a custom PC gives you the flexibility to create a machine that is exactly suited to your needs. Whether you’re after powerful gaming performance, professional content creation, or a reliable work machine, the process of selecting and assembling your own components allows you to optimize your computing experience in a way that off-the-shelf systems cannot. While it takes time and effort, the satisfaction of using a machine you’ve built yourself is well worth the investment.